> ## Documentation Index
> Fetch the complete documentation index at: https://www.plain.com/docs/llms.txt
> Use this file to discover all available pages before exploring further.
# Workflows
> Build multi-step automations with branching logic, wait states, and conditional actions.
Workflows let you automate multi-step support processes: route threads, follow up after delays, branch based on conditions, and chain actions together without code. Use them for anything that needs more than a single if-then rule.
 ## What you can do
* Run multi-step automations when specific thread events happen
* Take different paths based on thread state, labels, tier, channel, or other properties
* Pause for minutes, hours, or days before continuing
* Cancel a pause early if something changes (e.g. the customer replies)
* Trigger workflows manually on a thread or automatically from events
## How workflows work
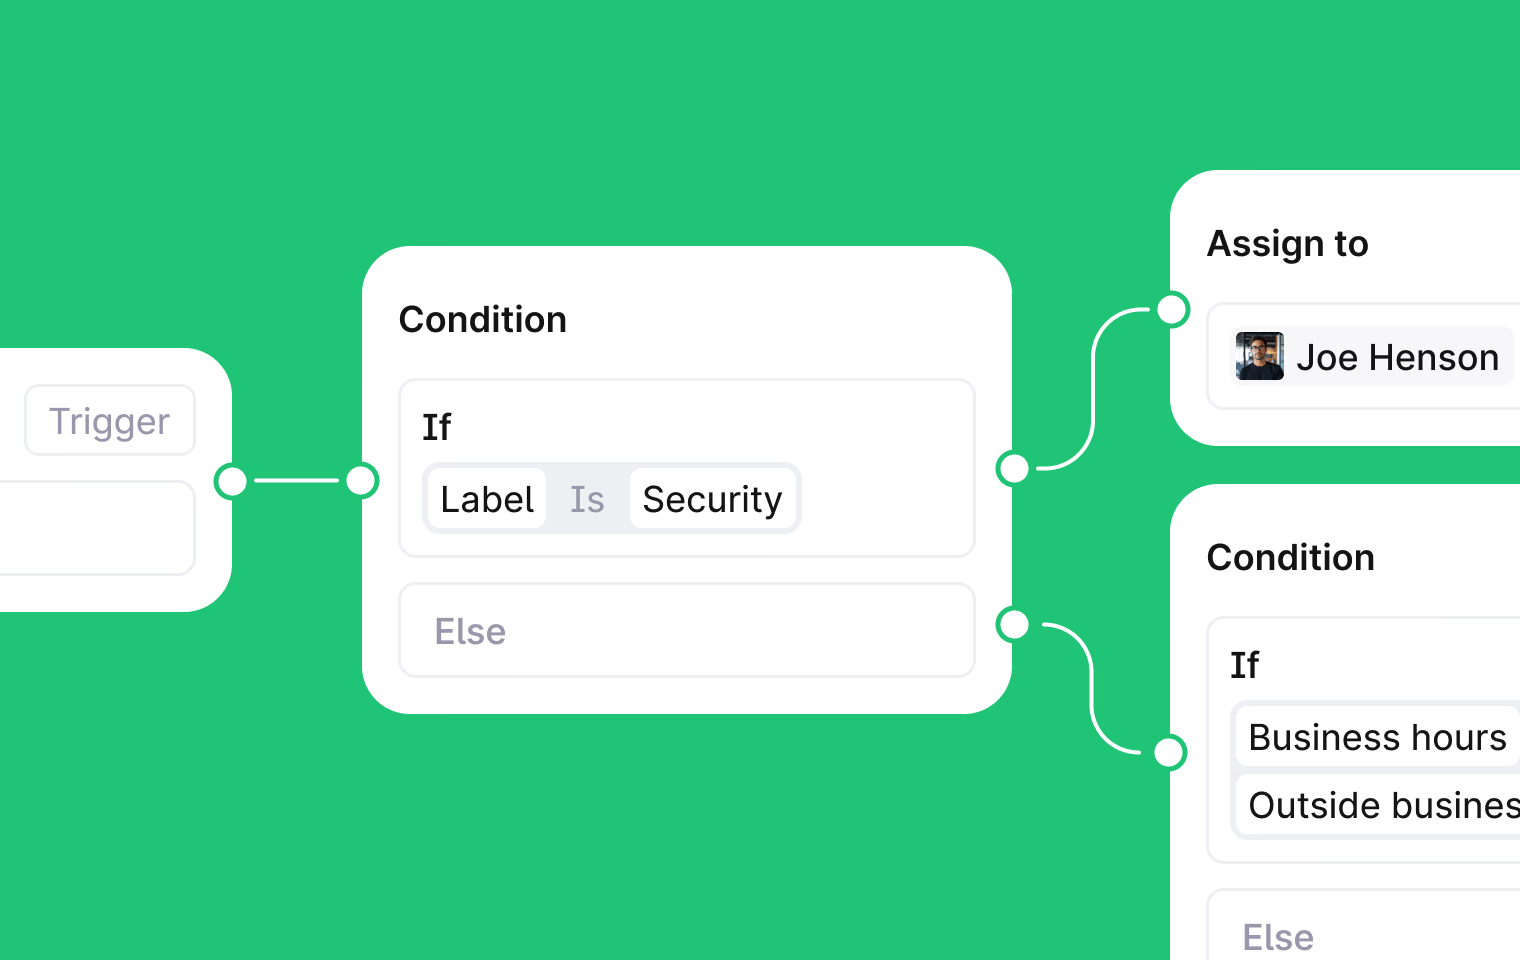
Every workflow starts with a **trigger**. You can trigger a workflow manually on a specific thread, or set it to run automatically when something happens (like a thread being created or a message being added).
After the trigger fires, the workflow runs through **steps**. There are three types:
* **Condition steps** check whether something is true or false and branch accordingly. For example, check if a thread has a specific label and take different paths based on the result.
* **Action steps** do something like assigning a thread, setting priority, or sending a message, then continue to the next step.
* **Wait steps** pause the workflow for a set duration. Each wait step has two outcomes: **completed** (the wait finished) or **canceled** (a cancel condition was met, e.g. the customer replied).
## Create a workflow
Go to **Workflows** in the sidebar, click **New workflow**, and give it a name.
Choose **Manual** or **Automatic**, then select the events that should start the workflow.
Click **+** on the canvas to add condition, action, or wait steps, then drag between them to define the flow.
Condition and wait steps have two branches, Yes/No and Completed/Canceled, which you connect to different next steps.
Click **Publish**. The workflow starts running against new threads.
## Duplicate a step
To reuse a step without rebuilding it, duplicate it. Two ways to do this:
* **Right-click** any node on the canvas and select **Duplicate**.
* **Hold Option (Mac) or Alt (Windows)** while dragging a node to place a copy at the new position. The original stays in place.
The copy keeps the step's full configuration and branch structure. Connections to other nodes are not carried over: wire the copy into your workflow after placing it.
## Limits
* Steps can only move forward. No loops
* Wait durations: 1 second to 1 year
## What you can do
* Run multi-step automations when specific thread events happen
* Take different paths based on thread state, labels, tier, channel, or other properties
* Pause for minutes, hours, or days before continuing
* Cancel a pause early if something changes (e.g. the customer replies)
* Trigger workflows manually on a thread or automatically from events
## How workflows work
Every workflow starts with a **trigger**. You can trigger a workflow manually on a specific thread, or set it to run automatically when something happens (like a thread being created or a message being added).
After the trigger fires, the workflow runs through **steps**. There are three types:
* **Condition steps** check whether something is true or false and branch accordingly. For example, check if a thread has a specific label and take different paths based on the result.
* **Action steps** do something like assigning a thread, setting priority, or sending a message, then continue to the next step.
* **Wait steps** pause the workflow for a set duration. Each wait step has two outcomes: **completed** (the wait finished) or **canceled** (a cancel condition was met, e.g. the customer replied).
## Create a workflow
Go to **Workflows** in the sidebar, click **New workflow**, and give it a name.
Choose **Manual** or **Automatic**, then select the events that should start the workflow.
Click **+** on the canvas to add condition, action, or wait steps, then drag between them to define the flow.
Condition and wait steps have two branches, Yes/No and Completed/Canceled, which you connect to different next steps.
Click **Publish**. The workflow starts running against new threads.
## Duplicate a step
To reuse a step without rebuilding it, duplicate it. Two ways to do this:
* **Right-click** any node on the canvas and select **Duplicate**.
* **Hold Option (Mac) or Alt (Windows)** while dragging a node to place a copy at the new position. The original stays in place.
The copy keeps the step's full configuration and branch structure. Connections to other nodes are not carried over: wire the copy into your workflow after placing it.
## Limits
* Steps can only move forward. No loops
* Wait durations: 1 second to 1 year