

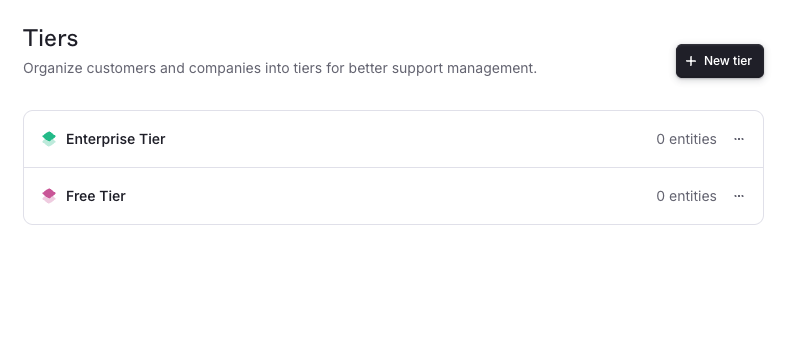
Assign a tier
Tiers can be assigned to Tenants. Once assigned, the tier shows on every thread from that tenant, and workflows can be configured to route threads by tier. To assign a tier:1
Open the tenant
Open the page for the tenant you want to put in a tier.
2
Set the tier
Click the Tier field in the sidebar and pick a tier from the list.
Tier SLAs
A tier can carry SLAs, so every thread from a tenant in the tier is measured against the same response and resolution time commitments. SLA policies supersede tier SLAs, but existing ones keep working. See Tier SLAs for how they work and how to manage them.Tier mapping
Tier mapping lets Plain automatically assign tenants to tiers based on the value of a tenant field. Rather than assigning tiers manually, you define which field drives tier assignment and Plain keeps every tenant’s tier in sync as their field value changes.How it works
When you map a tenant field to tiers, Plain creates a tier for each option in that field. Every tenant is then assigned the tier that matches their current field value. If a tenant has no value for that field, they receive no tier assignment. Machine tiers behave like any other tier: they can have a default thread priority and can be used to filter your queue.Prerequisites
Only single-select (dropdown) tenant fields are eligible for tier mapping. Free-form text, number, boolean, and multi-select fields are not supported, because Plain needs a fixed, bounded set of values to create tiers from.Setting it up
1
Open tenant field settings
Go to Settings → Tenant fields and find the Tier mapping card.
2
Pick the field to map
Select the field you want to map from the dropdown. Only eligible fields appear.
3
Save
Click Save. Plain starts mapping tiers from that field.
What happens when you save
- Plain creates a new tier per option in the field, named after each option value
- All existing tenants with that field set are automatically assigned to their matching tier
- Tenants added or updated after setup are assigned in real time as their field value changes
Keeping tiers in sync
Plain automatically keeps machine tiers in sync when the field schema changes:- New option added: a new machine tier is created; any tenants with that value are assigned to it
- Option removed: the corresponding machine tier is deleted and affected tenants lose that tier assignment
- Mapping removed or changed: all machine tiers from the previous mapping are deleted and tenants are unassigned.